Direct Answer: To clean rubber car floor mats, remove them from the vehicle, rinse off loose debris, scrub with a mix of dish soap or degreaser and warm water using a stiff brush, rinse thoroughly, and let them air dry fully before reinstalling. This removes grime without damaging the rubber.
Introduction
Rubber floor mats take the brunt of everything that comes into your car, mud, road salt, spilled coffee, sand, and general daily wear. Knowing how to clean rubber car floor mats properly matters because grime doesn’t just sit on the surface, it works into the texture and starts trapping odor and bacteria over time. Left too long, that buildup can even make mats slippery underfoot, which is a safety issue, not just a cosmetic one. The good news is that cleaning rubber floor mats in your car is one of the easiest maintenance tasks you can do, and it takes far less time than most people expect once you know the right order of steps.
Why does this problem happen?
Rubber floor mats get dirty and degraded for a few predictable reasons:
- Trapped debris in the textured grooves. Most rubber mats have raised ridges designed to catch dirt, which works great until that dirt compacts and becomes hard to remove.
- UV exposure and heat cycling. Sun coming through the windshield or side windows breaks down rubber’s flexibility over time, causing it to fade, stiffen, or crack.
- Salt and moisture buildup. Winter driving leaves salt residue that dries into a chalky film and can slowly degrade the rubber’s surface if never rinsed off.
- Oil and grease transfer. Footwear picks up oil from parking lots and driveways, which then embeds into the mat’s texture and attracts more dirt.
- Improper cleaning products. Using harsh solvents or petroleum-based cleaners can strip the rubber’s natural oils, leading to premature cracking, which is often why people end up searching how to restore rubber car floor mats after a few years.
What early warning signs appear before full failure?
Catching mat wear early keeps a simple clean from turning into a full replacement:
- A faded, chalky, or dull gray appearance instead of the original black sheen.
- Small surface cracks starting at the edges or high-flex areas near the pedals.
- A persistent musty smell even after vacuuming.
- Mats feeling stiff or brittle instead of flexible when you pick them up.
- Visible salt rings or white residue that doesn’t wipe away with a dry cloth.
How to diagnose and fix this problem step-by-step?
Tools Needed:
- Stiff-bristle brush or old toothbrush for grooves
- Dish soap or a dedicated rubber/vinyl cleaner
- Bucket of warm water
- Garden hose or bucket for rinsing
- Microfiber cloth or old towel
- Rubber protectant or UV-resistant dressing (optional, for restoration)
Chronological Fix Guide:
- Remove the mats from the car. Pull each mat out completely so you can work on both sides and avoid soaking your car’s carpet underneath.
- Shake off and vacuum loose debris. Bang the mats against a hard surface outside, then vacuum any remaining dirt from the grooves before adding water.
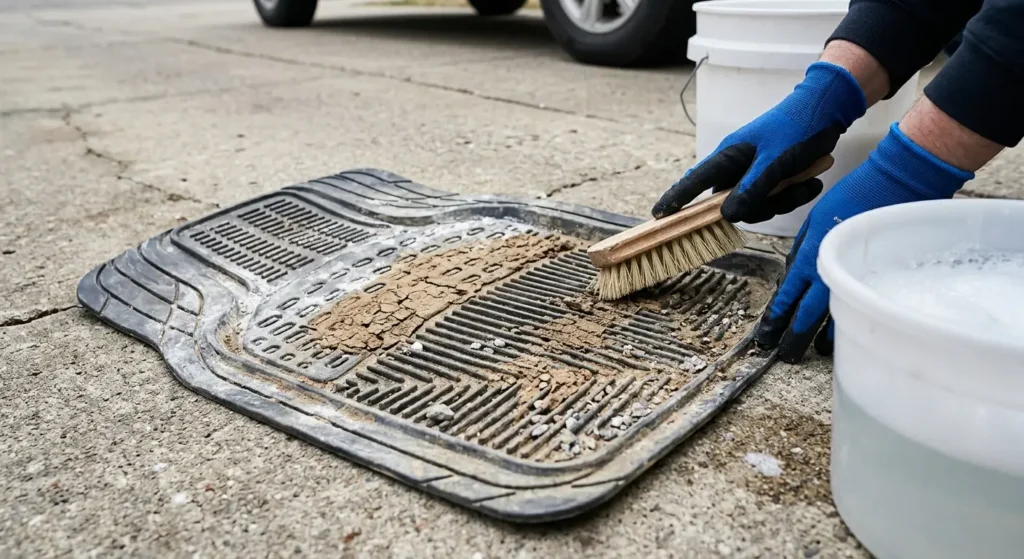
- Apply soap and scrub. Mix a few drops of dish soap into warm water, apply with a stiff brush, and scrub in the direction of the ridges to work debris out of the texture. This is the core of how to clean car floor mats rubber effectively.
- Rinse thoroughly. Use a hose or a bucket of clean water to rinse every trace of soap out, since leftover residue can leave a slippery film.
- Wipe and air dry. Towel off excess water, then lay the mats flat in a shaded, well-ventilated area. Direct sun while wet can accelerate fading, so avoid drying them in full sunlight.
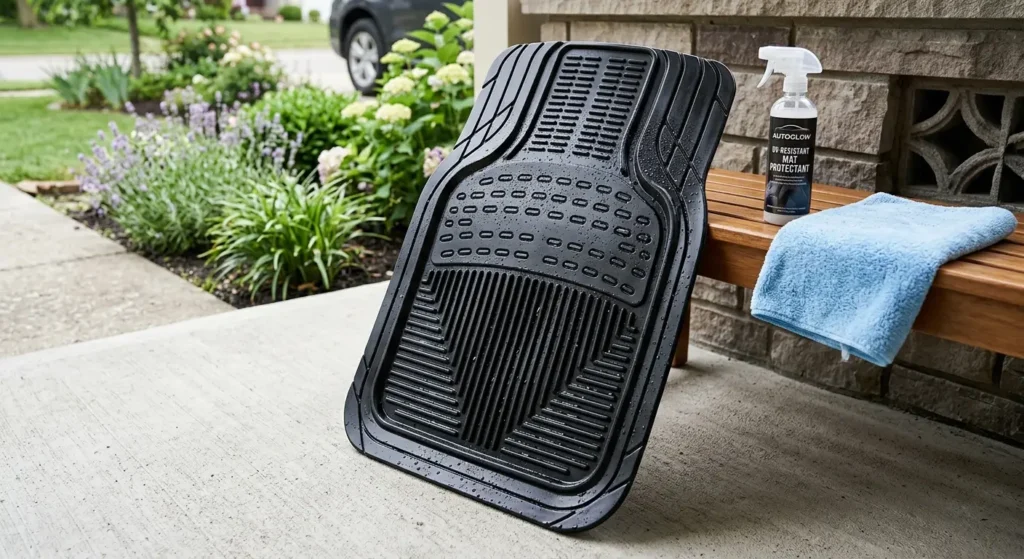
- Apply a UV protectant if restoring older mats. For mats that look faded or dry, a rubber-specific protectant restores flexibility and adds a layer of UV resistance. This step is essentially how to restore rubber car floor mats without replacing them.
- Reinstall once completely dry. Make sure mats are bone dry before putting them back, since trapped moisture underneath invites mold growth on the carpet below.
Expert’s Note: Real-World Testing & Diagnostic Insight
A customer brought in a set of rubber mats that had gone gray and stiff after two summers of sun exposure, convinced they needed replacing. We ran them through a basic wash with dish soap and a stiff brush, rinsed thoroughly, and let them dry in the shade rather than direct sun. Once dry, we applied a UV-rated rubber protectant, and the mats came back with visibly restored flexibility and a near-original black finish. The lesson: before assuming rubber floor mats are done for, a proper wash and protectant application often brings them back to life at a fraction of replacement cost.
How to prevent this issue from happening again?
- Rinse mats monthly, especially during winter months when salt residue builds up fastest.
- Keep mats out of direct, prolonged sun when possible by parking in shade or using a windshield sunshade to reduce cabin heat buildup.
- Apply a UV protectant every few months to slow down the fading and cracking process caused by sun exposure.
- Avoid harsh solvents like straight bleach or petroleum-based cleaners, since they strip the rubber’s natural oils faster than dirt ever would.
- Shake mats out weekly to prevent debris from compacting into the grooves and becoming harder to remove later.
- Address spills immediately rather than letting oil or grease sit and soak into the texture.
FAQ
How do I clean rubber car floor mats without a hose?
Fill a bucket with warm water and dish soap, scrub with a stiff brush, then rinse using a second bucket of clean water poured slowly over the mat. Wipe with a towel and let it air dry in the shade. This method works just as well as a hose for most household cleanings.
Can I paint rubber car floor mats instead of replacing faded ones?
Yes, there are flexible rubber-specific paints designed to recoat faded mats without cracking once dry. Clean and fully dry the mat first, then apply thin, even coats and let each one cure before adding the next. This is a budget option when a UV protectant alone isn’t enough to restore the original color.
How often should I clean rubber floor mats in my car?
A quick shake-out and vacuum every week keeps debris from compacting, while a full soap-and-water clean every month works well for most drivers. Increase that frequency during winter if you’re dealing with road salt regularly. Regular light cleaning is far easier than tackling heavily embedded grime later.
Conclusion
Knowing how to clean rubber car floor mats is a small habit that pays off in a cleaner cabin, better odor control, and mats that last years longer than neglected ones. Pull them out, scrub with the right technique, dry them properly, and add a protectant when needed, and you’ll keep your car’s interior looking and smelling fresh with minimal effort. A few minutes of regular care now means avoiding a costly mat replacement down the road.